Showing posts with label blueberries. Show all posts

Thursday, March 24, 2011

CEIMB: Blueberry Coffee Cake


It was my turn to pick the recipe for Craving Ellie in My Belly again this week, and I was craving something sweet! I have been recording old episodes of Ellie's cooking show, which now air on Cooking Channel, and recently saw an episode where she made this Blueberry Coffee Cake. As soon as I saw it, I knew that it would be my next choice for the group.


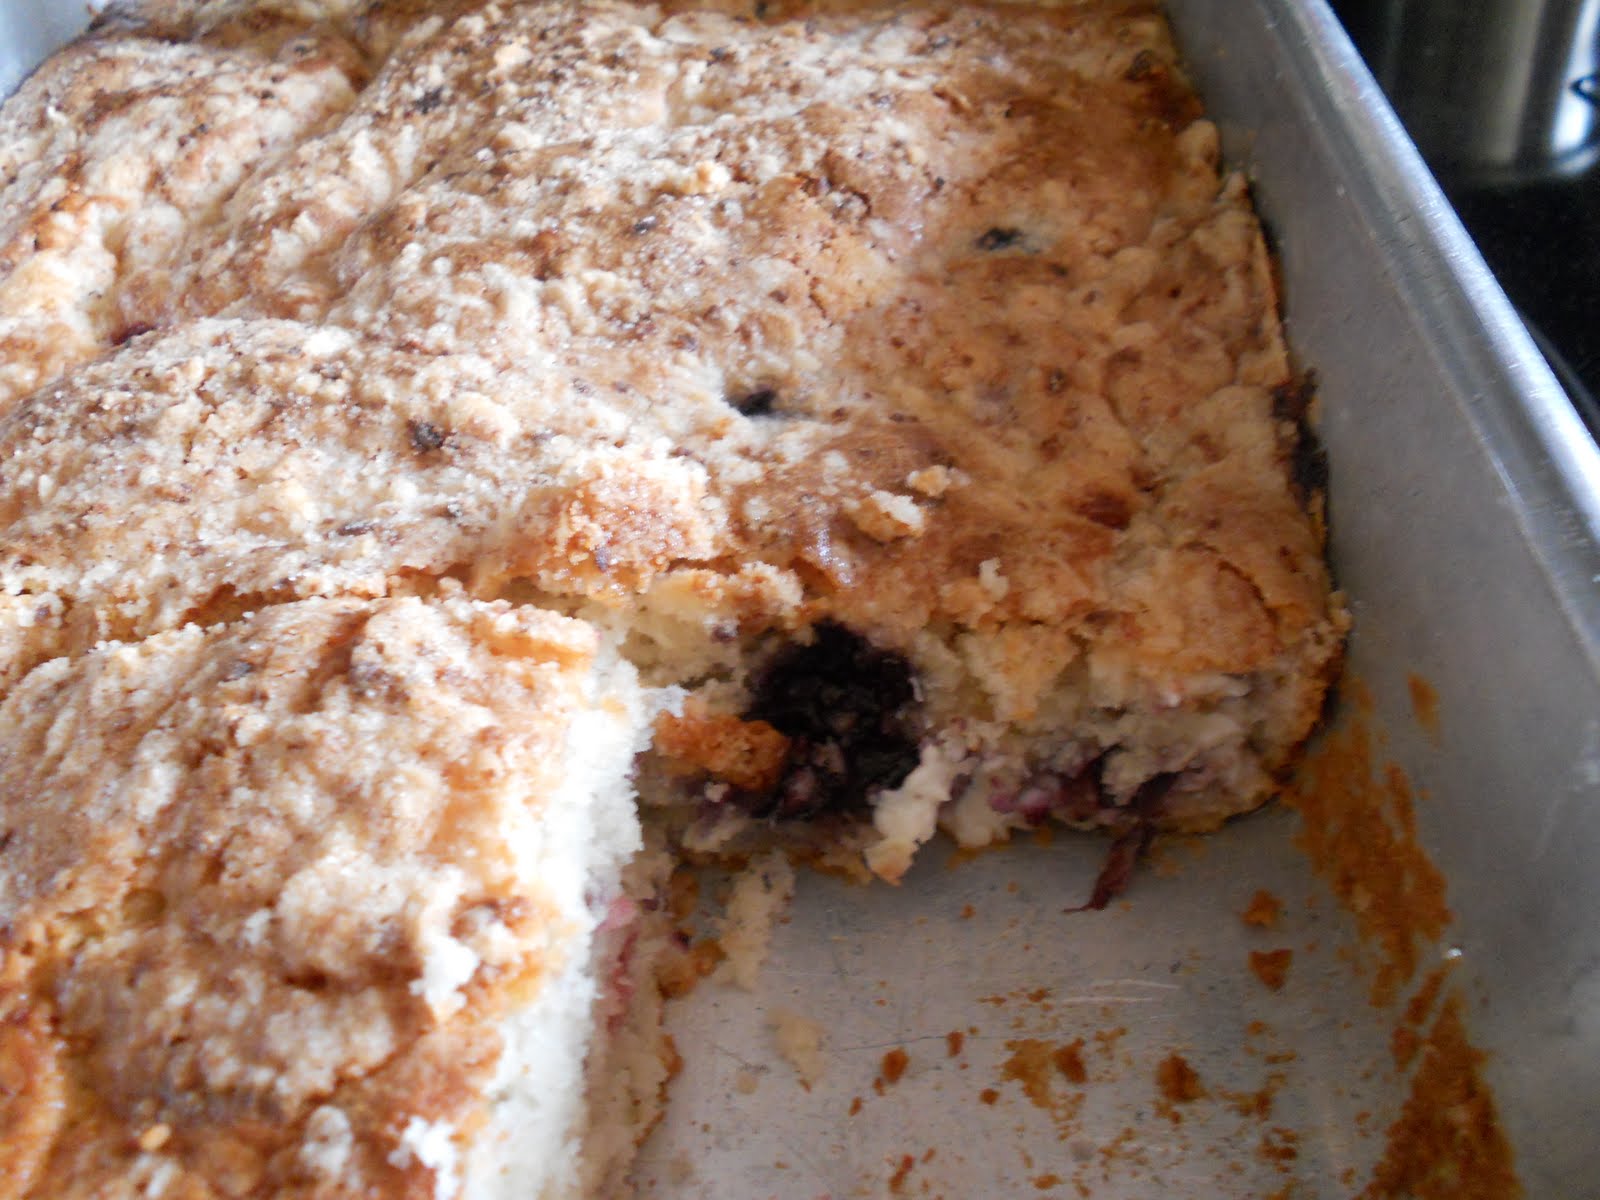
It's a lower-fat variation on an old classic: moist, lightly sweetened coffee cake, with a middle layer of fresh blueberries, cinnamon, sugar, and walnuts. The cake batter is topped with more streusel, and then baked until nice and golden brown.


Since I will look for just about any opportunity to use my silly brownie pan (the one that pre-slices the brownies/cake/granola bars for you), I decided to utilize it here. What can I say, I just happen to take my portion control seriously! I like the peace of mind of knowing that each slice of cake is evenly cut; that way, when I calculate the calories and such, I can feel more confident that it'll be the same with each slice. The drawback to using this pan is that I think once the slices are cut, they don't stay as fresh as they would if you just cut slices as you ate through the cake.


That said, I think this cake actually kept very well. I had it in an airtight container for about 5 days, and the cake was still very good on the last day. I preferred eating it warm to room temperature. Microwaving the cake for just about 20 to 30 seconds before eating it really served to wake up the flavors better.

I did love this cake, although you could definitely tell it was healthier than "regular" coffee cake. It lacked the sweetness of other coffee cakes, but that was just fine with me. It just helped you experience the other flavors better. I adore cinnamon, so of course I loved it here. The blueberries really brought a welcome tangy punch to the table, and the walnuts were just perfect. I could see this being a coffee cake that I revisit when I have overnight guests, or even just when the boys and I might be in the mood for something different thrown into our breakfast routine.


Thanks to everyone for baking along with me this week! For some reason, the link to this recipe over at the CEIMB site doesn't work anymore, but hopefully this one will. To check out the blogroll, click here.

Wednesday, December 8, 2010

Mixed Berry Cream Cheese Coffee Cake


Lately, I have been coming up with new and creative ways to use up some things that have been lurking in my freezer. I really need the freezer space right now; as I talked about in my last post, I am on a baking spree and I freeze whatever I make in anticipation of the holidays. However, I've been baking faster than I've been removing stuff to make from the freezer. It's not good! So over the weekend I pulled out a bag of mixed berries and set out to find a decent recipe to use them in.


I'm happy to tell you, this Mixed Berry Cream Cheese Coffee Cake is more than decent. It's pretty amazing, actually! I found a cream cheese coffee cake that solely used blueberries over on Food.com, but I knew I could most likely use my mixed berries instead and it would be fine. My husband had just mentioned last week or so that he tried a sample of cream cheese coffee cake at our local grocery store and fell in love. I wasn't really familiar with this concept, but I was totally on board!


This recipe is interesting because you actually make up the coffee cake batter, then fold in cubes of cream cheese along with the berries. I think it would work fine if you added the cream cheese, softened, to the rest of the wet ingredients when you're mixing them up. It would make the batter very creamy and luxurious, and I think it would be awesome. However, this time I tried it out the way it was written, just to see how it would work out.


The final verdict was divided at my house. One of my kids loved it, the other did not. My husband and I both loved the coffee cake, but I felt like the pockets of cream cheese inside were a bit distracting. He, on the other hand, really loved the cream cheese as a separate addition into the mix, and wouldn't have changed a thing. I provided my version of this recipe below, because I changed up a couple of the ingredients and rewrote the instructions to make them a little bit clearer. Just beware: one square of this cake is very filling, so it'll feed a crowd!


Mixed Berry Cream Cheese Coffee Cake
adapted from Food.com
serves 8-12

Ingredients
1 1/2 cups sugar, divided
1/2 cup softened, unsalted butter, plus 2 Tbsp. cold, cubed butter, divided
2 eggs
1/2 Tbsp. pure vanilla extract
2 1/2 cups all-purpose flour, divided
1 Tbsp. baking powder
1 tsp. salt
3/4 cup milk
2 cups assorted berries, fresh or frozen (I used frozen)
8 oz. cream cheese, cubed (I used Neufchatel)
2 tsp. fresh lemon zest, divided

Directions
1. Preheat oven to 375 degrees F. Cream together 1 1/4 cups of the sugar and 1/2 cup of the butter until light and fluffy, about 3 or 4 minutes. Add eggs one at a time, scraping down the sides of the bowl as needed. Mix well after each addition. Add vanilla, and beat until combined.

2. In a separate, medium-sized bowl, whisk together 2 cups of the flour with the baking powder and the salt. Add the flour mixture in two additions to the butter mixture, alternating with one addition of the milk.

3. Toss the mixed berries with 1/4 cup of the flour, then fold them into the batter. Gently mix in the cubed cream cheese and 1 tsp. of the lemon zest. Pour the batter into a greased and floured 9x13 baking pan.

4. In a small bowl, combine the remainng 1/4 cup sugar, the 1/4 cup flour, and the 1 tsp. lemon zest. Cut in the 2 Tbsp. cold butter until the mixture resembles coarse crumbs. Sprinkle mixture evenly over batter.

5. Bake in the preheated oven for about 1 hour, or until a cake tester inserted into the center comes out clean. Cut into squares and serve, preferably warm. The cake keeps in the fridge for about 3 or 4 days. Just reheat individual servings before enjoying!

Thursday, September 30, 2010

CEIMB: Blueberry Almond French Toast Bake


This week's Craving Ellie in My Belly recipe was chosen by Heide of Chez Zero. It was Ellie's Blueberry Almond French Toast Bake, from her book So Easy. Ok, I have to be completely honest here: we did not love this. Not at all. It's a shame, really, because we were looking forward to this one. And it turned out so pretty, too!


Now, there are a couple reasons why I think this did not work out for us, and I would love to try making this again with a few changes. For starters, the bread that I used was way too soft. I know I was supposed to use crusty, or day-old, bread. However, the bread I bought for this was this crazy soft bread that remained soft for three days! I bought it early enough that I thought for sure it would be stale by the time I needed it, but no dice. It's ironic, isn't it? The one time I really wantd my bread to become hard, and it wouldn't! Oh, well.


So that was my biggest problem. The finished product was really soggy, and I just don't like my french toast casseroles to come out that mushy. I like them to be firm and solid on the inside, with a nice crispy crust on the outside. I feel like there were too many eggs in this recipe. If I were to do it all over again, I would not use 8 (8!) whole eggs plus 8 egg whites. Instead I would probably use half that, at least. Both my hubby and I felt like the inner texture of this dish was just weird. It contained both qualities of cooked, soft scrambled eggs and mushy bread all at the same time. The taste itself was not bad, but it wasn't great enough to redeem the whole thing.


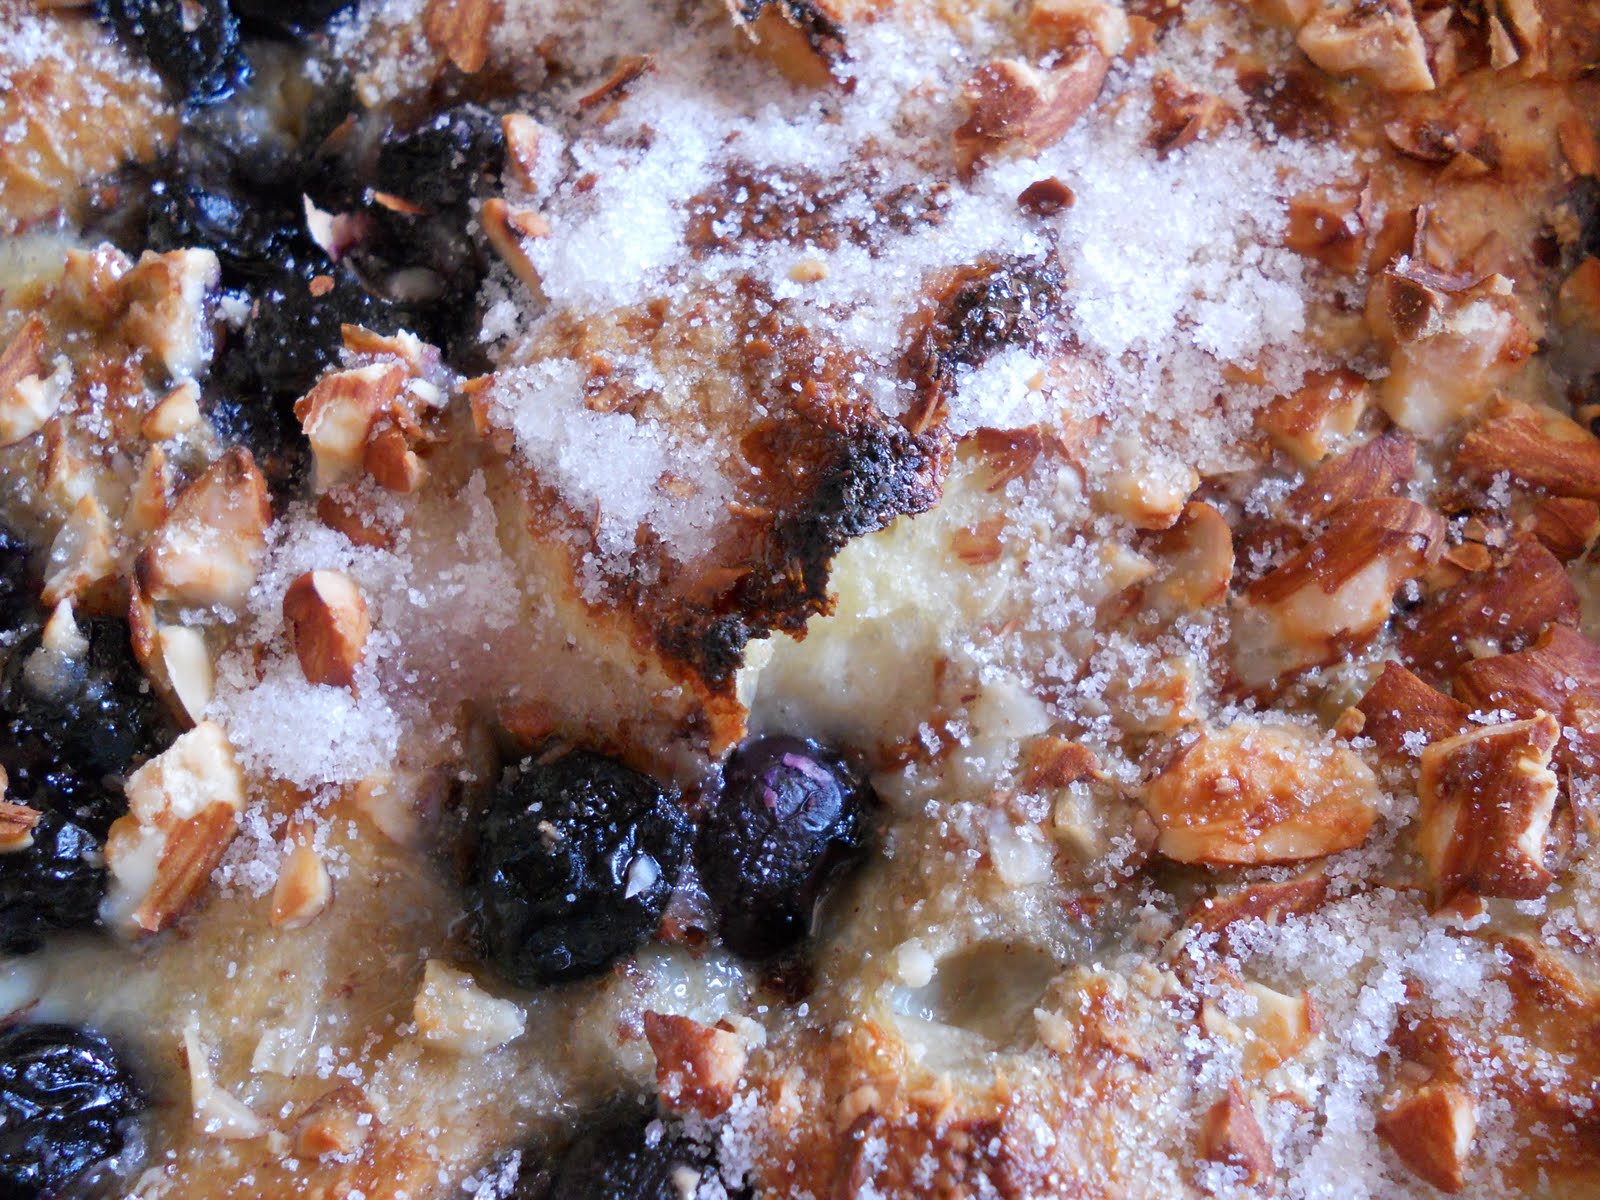
One fun thing I should mention, though: I decided to brulee the top, just for kicks. The top turned out to be the best thing about the french toast bake! It was easy; I just removed the dish from the oven when the bake time was complete, and sprinkled it lightly with granulated sugar. I switched the oven to broil and put the dish back in for a few minutes. The top became slightly charred-looking in some spots and extra crispy all over. The almonds got super-toasty, too. I thought it was really tasty, and it's a fun way to finish off a dish like this.

Thanks to Heide for the pick this week. I'm glad I got to try it, success or not. Besides, like I said, I'm now motivated to make this recipe again, but hopefully with improvements! Maybe the other CEIMBers made out better than me; you can check out the blogroll here.